I recently made the trip across to a wholefoods co-operative about 50 miles away to collect some ingredients for work. For several years, this was a regular jaunt across the Sussex countryside for me, loading 25kg sacks of flour and case after case of dried figs, prunes, raisins, sultanas and apricots into my groaning car and bouncing back along the foothills of the Downs. Now these ingredients come into the bakery in whole pallet loads. Where once there was 25kg, or even - if we were really busy - 37.5kg in 3 cases, now we have 1 ton pallets, wow!
For all that it is exciting to grow up, I have missed the regular visits to the warehouse. They reminded me of being a kid, back in the 70s in north London. We lived a very suburban childhood, but my parents were quite unique in their outlook. As my own daughter tells me regularly now, 'unique' and 'parent' are not two words that most children ever wish hear describing their own Mum & Dad. I wanted my parents to be normal - evenings out, buying ready meals, taking us to Spain on holiday and driving shiny new (& fast) cars. But that just wasn't my parent's style, and I really appreciate their outlook now.
My parents didn't wholly embrace "The Good Life" , we didn't get as far as chickens or sheep, though I know Dad would have appreciated their gardening skills - eating bugs, keeping the grass down. Once the vegetable garden was established and we had learned to process the gluts of beans, tomatoes and apples at their peak, Dad looked around for other ways to keep Mum busy. Plenty of home baking, jam making and bottling fruit led onto making home made ginger cordial and a wonderful exploding bottle in the kitchen which still left traces on the ceiling 15 years later. Then in the late 70s Dad discovered Community Foods and a new venture was born.
Before I go any further, I must point out that my Dad wasn't an entrepreneur. In fact he leaned towards a Quaker lifestyle. He had a big heart, and a great belief that we only needed enough in life to survive - not too much, just enough. He wasn't a natural consumer and he wasn't out to make a quick buck. And through Community Foods, he simply saw a way to make life better and cheaper for his family & friends around him.
Four times a year, we three kids and mum would pile into our old second hand Ital (buy British!) estate, and drive over to New Southgate. We made this same journey far more regularly to visit a favourite family friend, but these trips were different. With Aunty we were rewarded with crunchy biscuits with wrappers (you mean you can buy biscuits?) and glasses of vivid orange squash, treats untold to our young minds. But instead of turning right to Aunty's we would pull left off the steep hill onto a little industrial estate and there, tucked in the corner, was a warehouse with big sliding shutter doors.
The air smelled sweet & very slightly yeasty and the huge space was dark, cool & calm. There was pallet racking piled high with boxes of dried fruit, huge sticky sultanas, dark plump raisins, chewy sweet dark apricots. Whilst the guys sorted out our order, we used to sneak off and climb up the piles of boxes on the pallet racks. Of course we knew we weren't supposed to do this, so at least that made us clamber around quietly, whispering instead of shouting and trying to swallow our giggles. But it was so much better than a playground. You climb up the stacks of boxes using the spaces where boxes had been sold as perfect foot holes so it was a bit like a warm indoor play centre. But at the top of each pile were untold spoils. Prising a cardboard lid up with 2 hands you could slide your fingers under the lip of the lid and scrape a few nuggets of fruit from the side of a box. And if no-one noticed, and the fruit tasted good, we would move onto another box and another handful.
I apologise now to anyone who did notice the missing fruit, or grubby finger marks on the side of their boxes, but this place was such fun, we were like squirrels collecting nuts for a long cold winter, and always left with sticky fingers and full tummies.
We were usually caught at some point and scurried down heads hung low in embarrassment whilst wiping our sticky fingers on the back of our jeans. If not caught, we would emerge from the dark warehouse to find the back seat folded flat and the whole car laden with boxes. We would crawl in through the boot door and make ourselves comfortable in amongst the boxes for the journey home. Inevitably our high spirits would start to fail us on the return and 3 tetchy kids would snap, bicker & snipe at each other. There were 2 big hills on the way back to our house and we would crawl up both at no more than 15 miles an hour with us hiding our heads (though bodies of course still visible) in embarrassment of our old over-laden car.
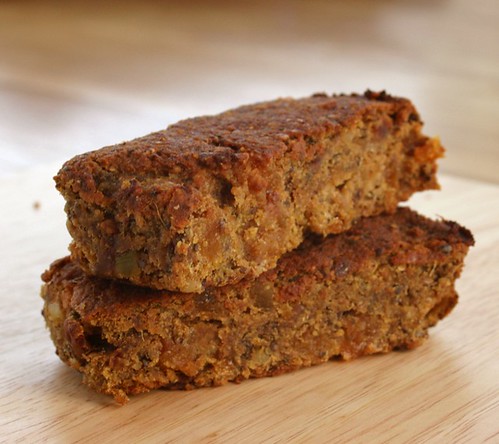
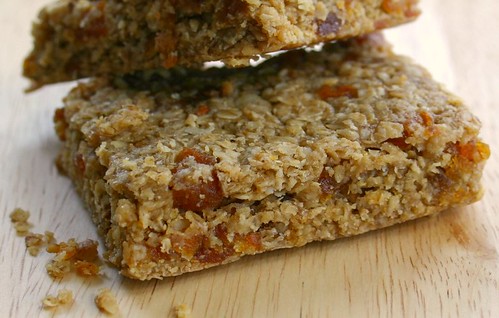
The point of this journey was not, of course, the journey itself. Our next job was to load up the wheel barrow with boxes of fruit at the bottom, sacks of wholemeal flour on the top and transport this into the old summer house in the back garden. This in itself was a feat, with a narrow sideway, 2 steps and an overloaded barrow pushed by a 9 year old, rarely did everything arrive intact! The haul unloaded, we would happily crowd round the kitchen table for some of Mum's crunchy baked jam sandwich (recipe to follow) and glasses of milk.
Over the course of the next few weeks, we would have a stream of visitors to the house, buying a few ounces of raisin, a couple of pounds of sultanas, half a sack of flour for homemade bread-making. Our costs, petrol & plastics bags - if you didn't bring your own - were factored in and the sales were carefully noted to make sure that the books balanced. And this, I think, was the real point of the exercise. No-one profited - the books had to balance, our costs were covered and in return we, and our families and friends, were able to share in a haul of great quality and cheap ingredients.
I don't remember buying dried fruit from a store for years, until my daughter was a toddler and my parents had left London, and once again dried fruit was back in my shopping basket. It didn't take long for a seed of an idea to grow, and soon I was searching out a warehouse and cases of juicy dried fruits. With great ingredients, it seemed only natural to create recipes to showcase them, and I suppose that links me directly to where I am today. Thanks, Mum & Dad.
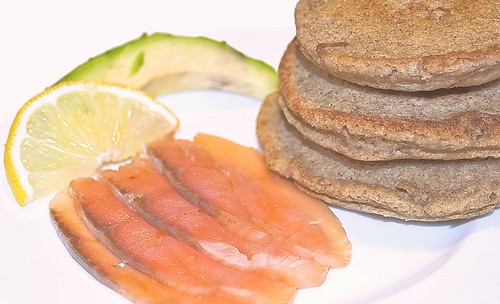
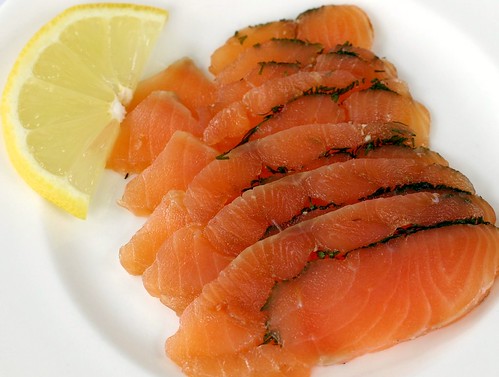 I find myself, happily, with a whole salmon sitting in my fridge. My usual, more frugal, self would fillet, portion and freeze the fish for quick mid week meals probably making a few gluten-free salmon fish fingers too. Today though, I am going to buck the trend and cure the fillet to serve on Christmas Day with buckwheat blini and rose champagne (that is the only way to start Christmas Day in our house). This dish takes around 48 hours to cure and during that time you do need to turn the fish over morning and evening to get an even cure. But apart from that it is one of the easiest and most impressive 'home-made' dishes that you can serve, so have a go and lap up the praise when you serve this. And, if you area really sensible, you will buy your salmon already filleted!
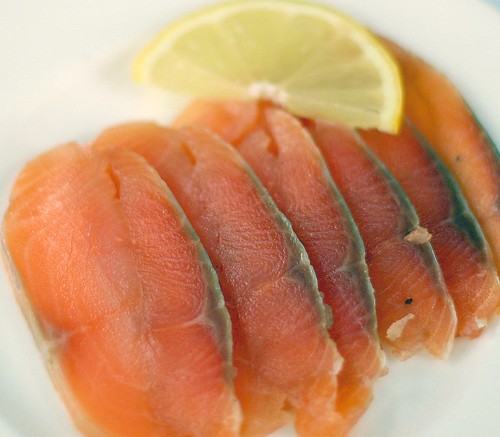


